Boo!
As promised folks, the Boy and I will now post the Behind the Scenes from our making of Spooky Night: Halloween Special 2012.
Really, we didn’t think we would be making anything to celebrate Halloween this year as we have been so busy with the wedding and all.
I wanted to just give 2012 a miss, but the Boy announced the weekend before Halloween that we absolutely MUST go ahead with our Spooky Hollow and the Wonky Boys tradition.
I gave in to his hounding and despite not making any major kitchen adventures, I think we did a pretty bang up job! What do you think?
So we knew we had to keep to two things.
- Dry Ice
- Wonky Boys
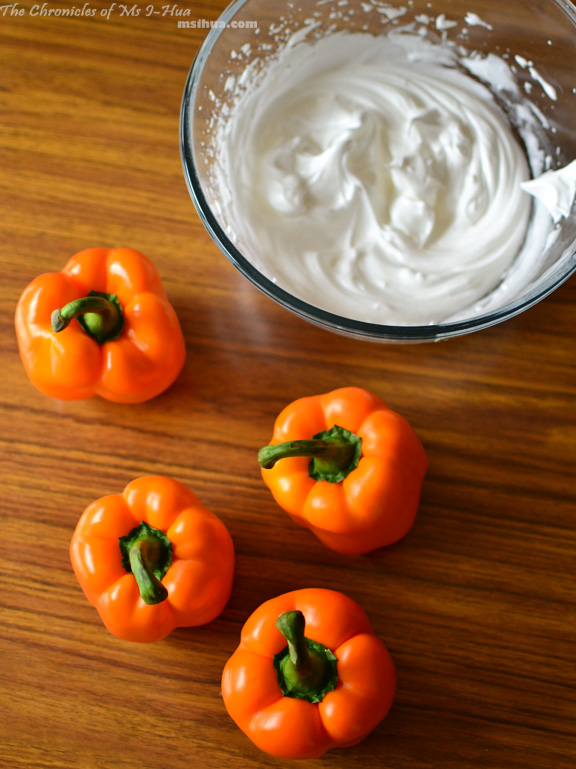
I convinced the Boy that an idea was forming in my head and off he went to return the giant pumpkin whilst I packaged up 4 capsicums.
With this basic idea of how we wanted to set the scenes of Halloween 2012 in our heads, we got started on prepping.
Basically the elements of “Spooky Night” consisted of:
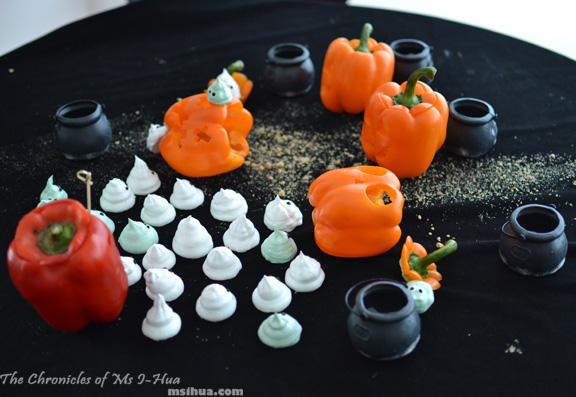
- Wonky Boys (Ghost Meringues) – Egg whites, caster sugar, cream of tartar, vanilla extract, green colouring (for green meringues) and whole black peppercorns (for the eyes). Full recipe at Spooky Hollow 2010.
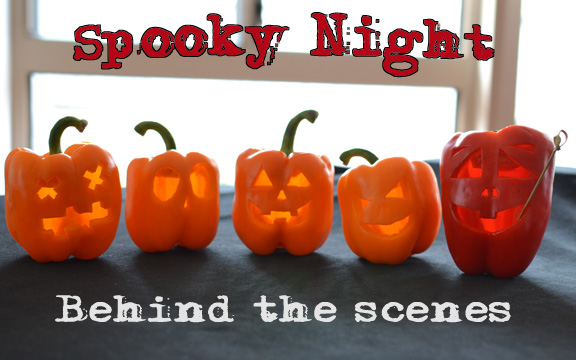
- Evil Capsicums & Grandpa Caps – Orange capsicums (Evil Caps) and Red capsicum (Grandpa Caps), 1 bamboo skewer (for Grandpa Caps’ pipe), sharp paring knife and spoon.
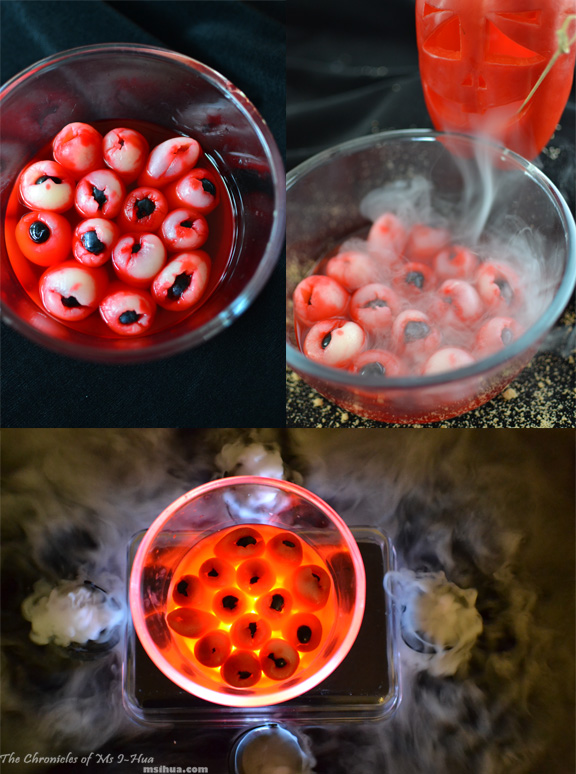
- Bowl of Bleeding Eyeballs – Longan/Rambutan/Lychees (preferably longan), blueberries and red cordial or red dye mixed with water.
- Mini Cauldrons – purchased from our local Woolworths store (usually only available during Halloween season. 6 mini plastic cauldrons for $2).
- Dry Ice – purchased from our nearby Supagas store. Use the right gloves to handle them as they can cause severe frostbite!
- Dirt Road/Sand – using B&P Sweet Studio‘s Spiced Mango Crumble.
- Trees – these are non-edible trees which were used as table number holders at our Wedding Reception.
To be honest, the idea to present it as a comic didn’t come about until we were setting the scenes for the photo shoot. This was how laid-back with the planning we were.
The Wonky Boys:
This year we introduce the green Wonky boys in tribute to Slimer from the Ghostbusters. I wanted to do a rainbow collection of them but the Boy stopped me to say that it wouldn’t be special for Slimer and his friends.
I conceded and off I went to pipe the boys 🙂
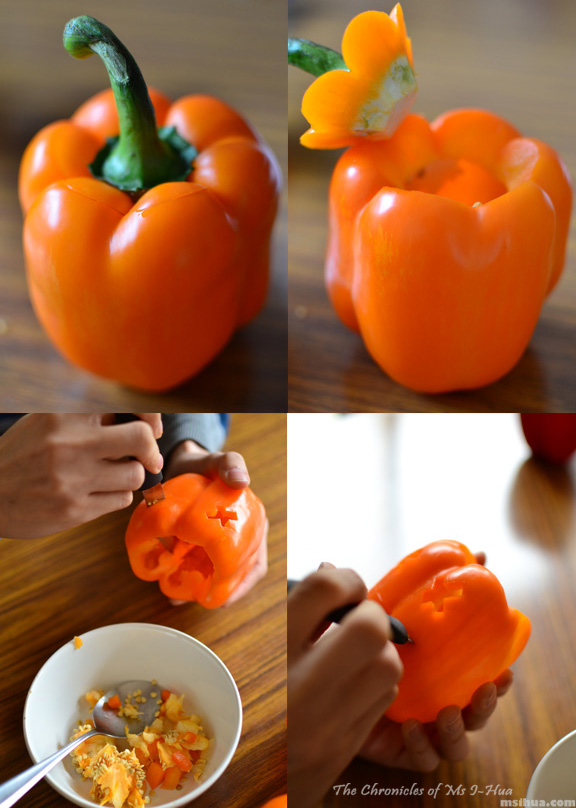
Capsicum Carving:
- Use a sharp paring knife.
- Cut open the top of the capsicum in a 45 degree angle. If you cut it in an angle, the top should be able to rest on the body and prevent it from falling into the cavity.
- Remove the seeds and clean the cavity with a spoon.
- Think of what you want to carve on the capsicum. It’s easier to carve square/rectangular shapes than circular shapes.
- Lightly score the capsicum with your design before cutting into it. This will act as a guideline when you’re carving your capsicum.
- Using the score marks as a guide, start carving into your capsicum with the paring knife. Don’t rush the carving process. It takes patience and perseverance to do this.
- Once you’ve done carving it, add a tiny amount of dry ice (using protective gloves) and pour a little warm water in and watch your Evil Capsicum come to life!
It took the Boy around 2 hours to carve up the 5 capsicums as he was carving them free form with no template! How cool is that? He also went really slowly with them as we didn’t have any back-up plan if he broke any of the capsicums.
My contribution to the capsicums?
I got to name them all! Hah!
[Clockwise from top left to bottom: Jack O’Lantern, Crossy, Dopey (the one with no mouth) and Joker (the smiley one)]
Bowl of Bleeding Eyeballs:
We were inspired with the bleeding eyeballs from Tracy on Dust of Enchantment on Instagram who posted up her bowl of eyeballs from last year’s Halloween where she stuffed longans with blueberries and grapes.
Looking through our pantry, the only things we had were tinned rambutans or lychees. No longans! Such fail Asians 🙁
So making do with what we had, I opened up the rambutans and began stuffing them with the blueberries. It was more difficult than I thought as the rambutans were prone to splitting up on the side if not careful.
To make the eyeballs seem more realistic, I added a couple of drops of red food dye and swivelled it around the bowl.
To get it glowing as we did, we had a little spotlight (the Boy calls them Iron Man lights) under a glass container to shine through with the lights switched off in the house.
Mini Cauldrons & Dry Ice:
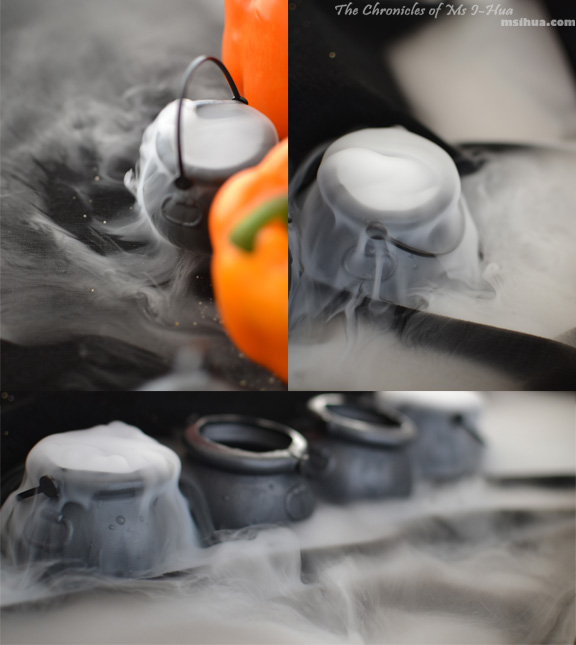
We basically added a small amount of dry ice (use protective gloves) into the cauldrons and poured in a little warm water. From there, all you have to do is wait and watch for the magic to happen.
Depending on the dry ice pellets, they may not last as long as you’ll like them to. So keep adding more water or dry ice for a continuous eerie effect.
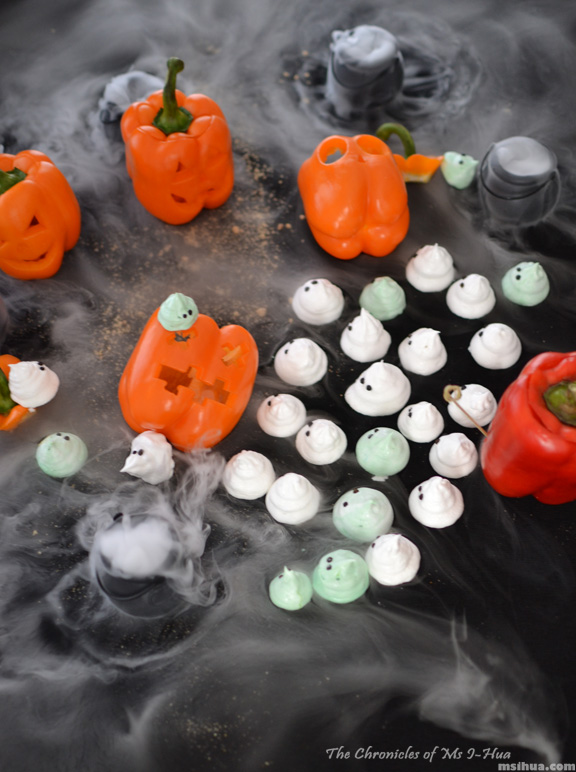
Setting up the scene for the epic final battle between the Wonky Boys and Evil Capsicums was the best part of the ‘photoshoot’.
As a note, if you are planning on doing something similar, remember that the dry ice is always added last.
The Epic Final Battle!
We couldn’t keep the items to eat as they had all been exposed to dry ice and were beginning to melt a bit. Not very pleasant but so very fun to play with.
Then for the comic to take a life of its own, the Boy had two nights with his photo editing software to put them all in place whilst I thought up a storyline (so that he would know which pictures would go in each panel).
So despite not spending as much time in the kitchen to create this year’s Halloween post, we spent about the same amount of effort and time with the prep and post ‘photo production’ work.
We worked on the dialogue together as well 🙂
So tell us, would you try any of the above for your Halloween next year?


Happy Halloween! Whoa, the eyeballs, cauldrons, Wonky Boys and the Cap-o-lanterns have a very Heston and Ferran feel about them! Very very well done! 😀
Thanks dude!
Great good with the last minute preparations especially the eyeballs. 😀
Im not a fan of halloween, but scary lil jokes can be fun to do in a commercial kitchen like opening a can of beetroot…. u get the idea. hehe
Aww thanks! Ooh.. I would have said a can of tomatoes 😛
So much awesome! I’m too lazy to do things for Halloween. But, you guys are fantastic. I love the carved capsicums!
And here we thought we were lazy this year too!
Love it! Great team work and that is what it is all about.
Yup! Team work FTW!
So much fun! I want to get some dry ice to spruce up my everyday baking adventures. Like how much cooler would a chocolate cake be if it was surrounded by dry ice fog? Way cooler:)
Also, I wish the roads I traveled were made of Spiced Mango Crumble.
Dry ice makes everything fun!
That seriously does look like SO much fun 🙂 And I sure had heaps of fun reading the post hehe ~
I would love to have a massive and elaborate Halloween or at least do something to celebrate…but I fell ill this year and Mr Bao really isn’t all that interested SIGH
You guys should try it too! It’s fun!
OMG these are all so great! Awesome job guys 😀
Thanks Nic!
Brilliant. The comic idea really made it awesome.
Fabulous! Thank you 🙂
Tehee so awesome. I think the capsciums were inspired! Much cooler than a silly pumpkin.
Also I forgive you for being late to dinner. 😉
Why thank you! 😛