My dear readers, the time has come once again.
It’s the crazy season. The season to go all out and dress up as everyone’s worst nightmares (although for some, admittedly, that is their daily look 😛 )
It’s Halloween!!!
MuahaHAHAHhahahHAHAHhahahHAHAHAHaa…
After last year’s fabulous Halloween Special with Spooky Hollow, the Boy was eager to attempt another epic Halloween recipe special. And as always, dry ice is a must! Thank you Heston Blumenthal for corrupting the Boy with the use of dry ice. Thank god he hasn’t reach the stage of using Liquid Nitrogen instead.
This time, he chose a very difficult recipe (in my opinion) to attempt. However, despite a few false starts, several eruptions of temper (him and I), we present to you… *drum roll*
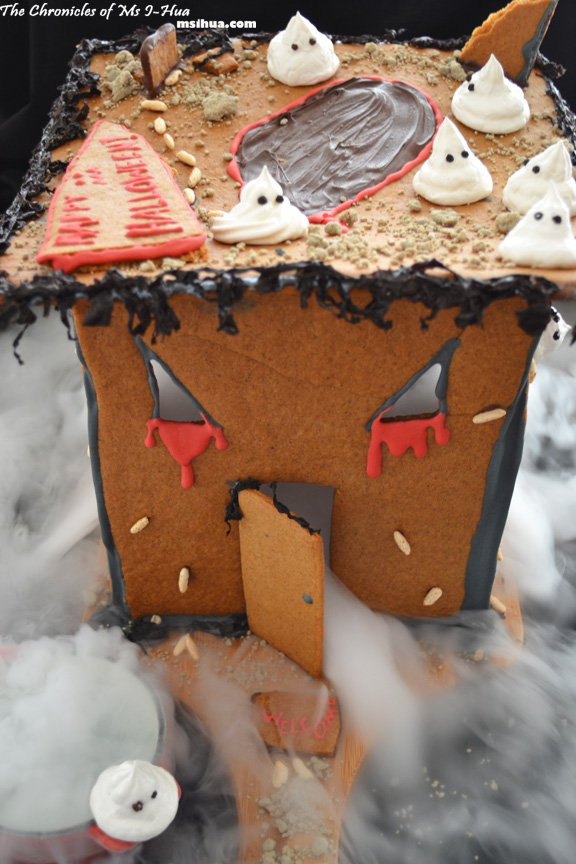
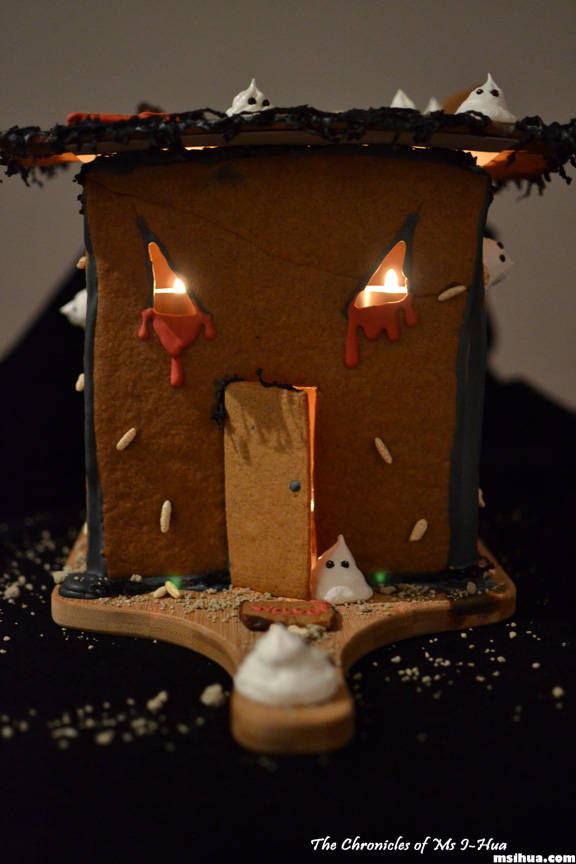
Spooky Shack!! A 2011 Hallo’ween Special
Or as I would rather call it, Ginger Ghetto and the Wonky Boys!
Now be prepared, there is a bit of work to complete for this spooky gingerbread shack recipe.
We combined Adriano Zumbo’s brilliant Hansel & Gretel House recipe, Haunted Dimensions technique of glue-ing the walls together, making royal icing sugar (from Joy of Baking) and our cute little spookies (Meringue Ghost) from last year’s recipe. And also, you’ll need dry ice for this project. For Melbourne and Aussie readers, we got ours from our nearby Supagas store.
The ingredients for this recipe isn’t extensive, but it does require quantity!
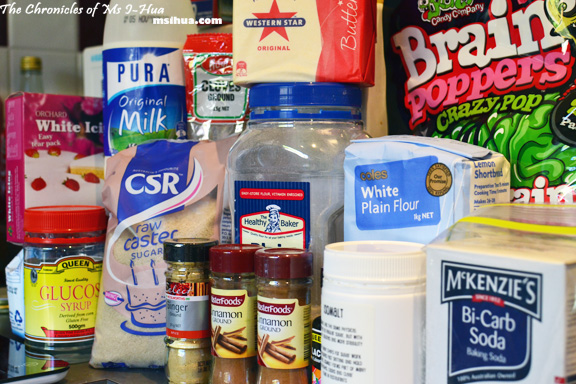
The Ingredients
Not all ingredients (shown in the picture) were used. We left out the Isomalt, Popping Candy and Packaged White Icing.
For the Gingerbread Shack:
We used Adriano Zumbo’s Hansel & Gretel Gingerbread House (from the Masterchef 2011 Pressure Test Challenge) recipe and halved the ingredients needed for the house. Please refer to his recipe for the ingredients and some of the procedures required. Our house was going to be assembled differently but Zumbo provides a great base recipe for the Gingerbread House. Despite having Isomalt in our pantry, we decided to omit the Isomalt Windows from the recipe as we wanted the dry ice fog to exit through the windows and doors.
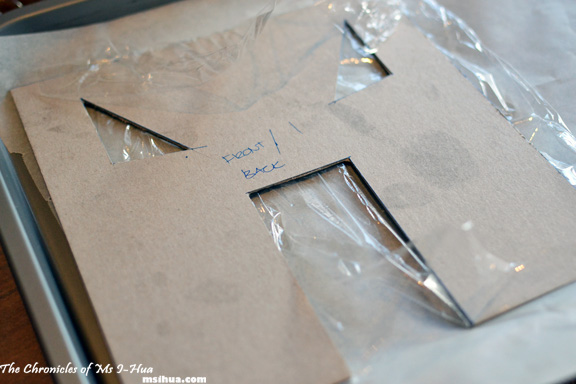
Using cardboards, make 3 templates with the measurements:
Front & Back Wall template = Width: 20cm, Height: 21cm
Side Wall template = Width: 20cm, Height: 21cm
Roof template = 28cm x 28cm
After cutting the templates,
- Cut a front door (10cm high x 5cm wide) at the base and 2 “evil eyes” on the Front & Back Wall template. Although you are sharing that one template for both Front and Back walls, the “evil eyes” only applies to the Front. So remember, when you are using the template to cut the Back Wall, just cut out a door and omit the eyes (we just need a back door for the Back wall).
- Cut 2 windows (10cm high x 4cm wide) on the Side Wall template. You’ll need windows for the dry ice fog to escape.
Compared to Zumbo’s, we were going with a flat roof design to emulate a Ghost Rooftop Party.
The Prepping
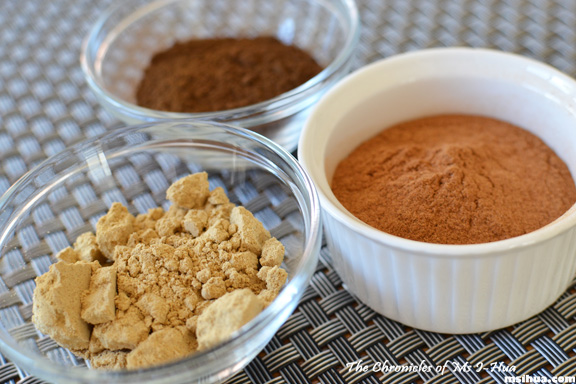
There goes the glucose! And there goes the rest of the ingredients!
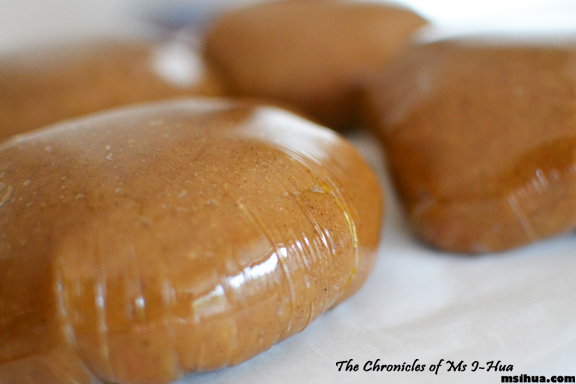
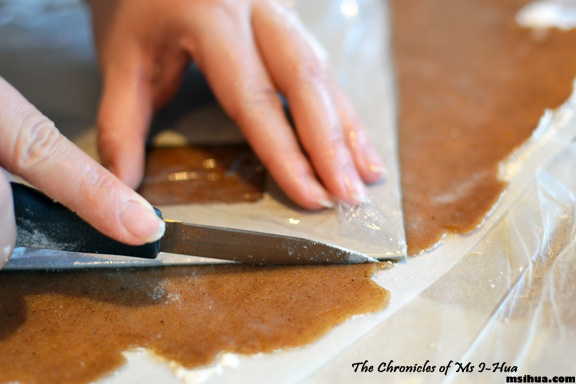
You should get a paste-like consistency when the dough is ready. And time to divide them into 5 pieces (Front Wall, Back Wall, 2 x Side Walls, and Flat Roof).
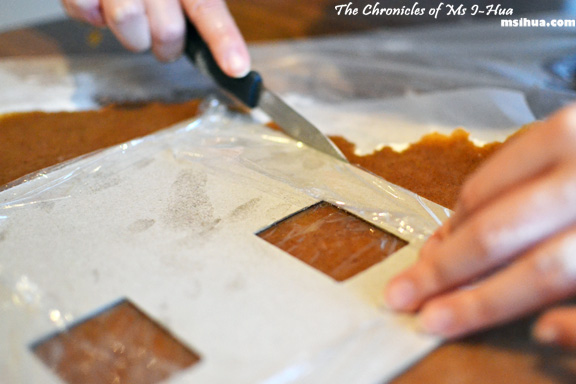
Use cling wrap to prevent the cardboard from touching the dough. It’s more of a cleanliness thing.
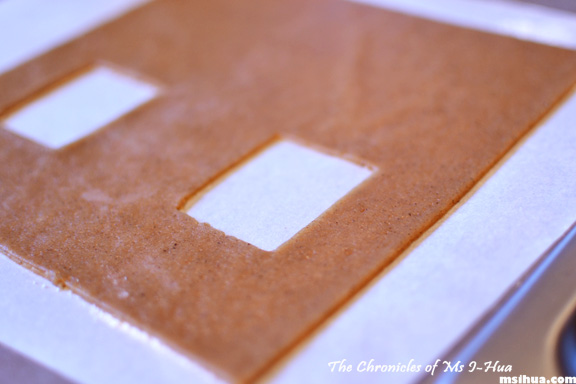
When you are cutting out the doors from the dough, keep the doors as you will need to bake them as well. Don’t forget, you’ll need both Front and Back doors.
The Assembling and Decorating
As we needed to spook things up and keep away as far as possible from traditional gingerbread house decorating, we opted to re-use ideas from last year.
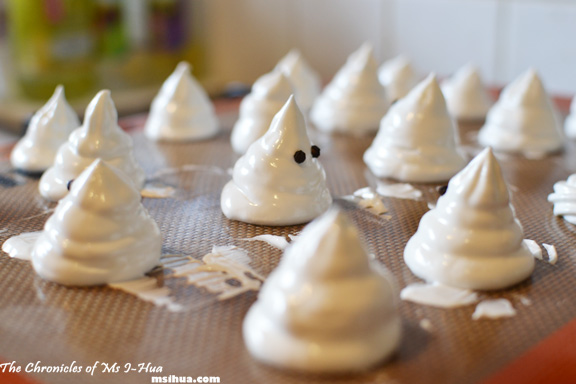
Mainly, seaweed and the meringue ghosts (my wonky boys, as I like to call them).
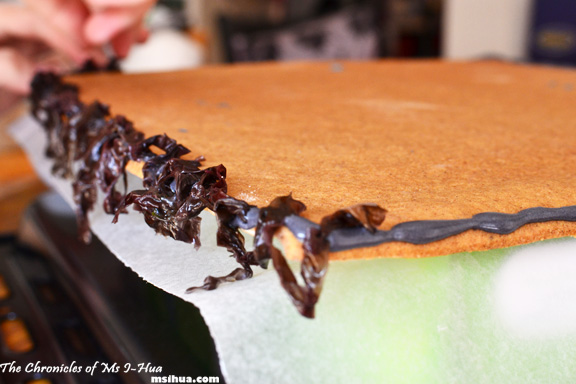
Damp some dried seaweed and stick it around the edges of the roof (outlining the edges of the roof with black royal icing or melted chocolate will hold the seaweed in place) to give it an eerie look.
On preparing the meringue ghosts, check our Spooky Hollow post.
Apart from rolling out the gingerbread dough (which was a real manual intensive labour and I nearly put my back out rolling out the dough), the second hardest aspect of building the shack had to be assembling it.
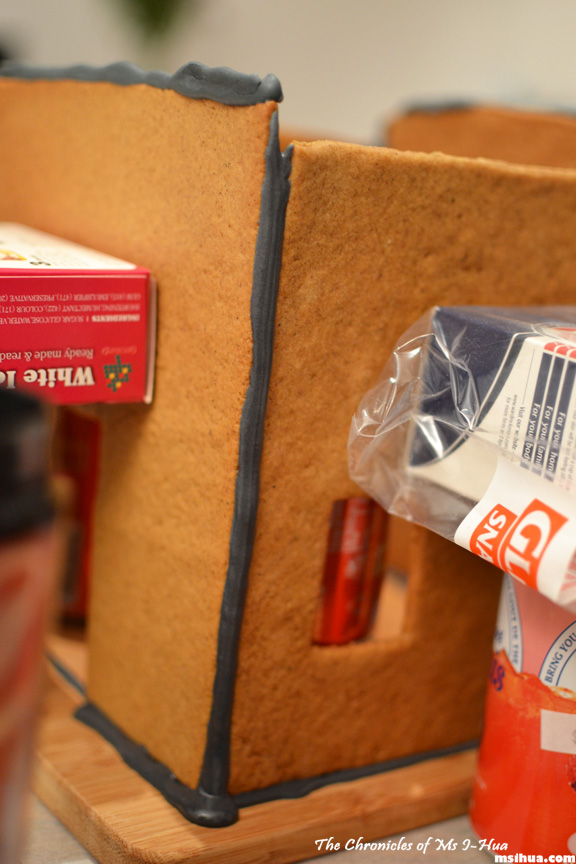
The Boy was quite the genius in finding items from the kitchen to use as props and scaffolding whilst I piped the royal icing to stick the walls of the shack together. It’s best to have 2 people assembling the shack to avoid walls from falling and breaking. Use can drinks, heavy packet boxes or jars to hold walls in place when royal icing sets. We left ours overnight to set.
For the Royal Icing Sugar, we followed Joy of Baking‘s recipe and separate the final product into 2 bowls and coloured one with black (but turned out to be more of a dark grey shade) and the other with red (which was more of a dark pink/light red shade). We used royal icing instead of tempered chocolate to join the walls and seal any broken pieces.
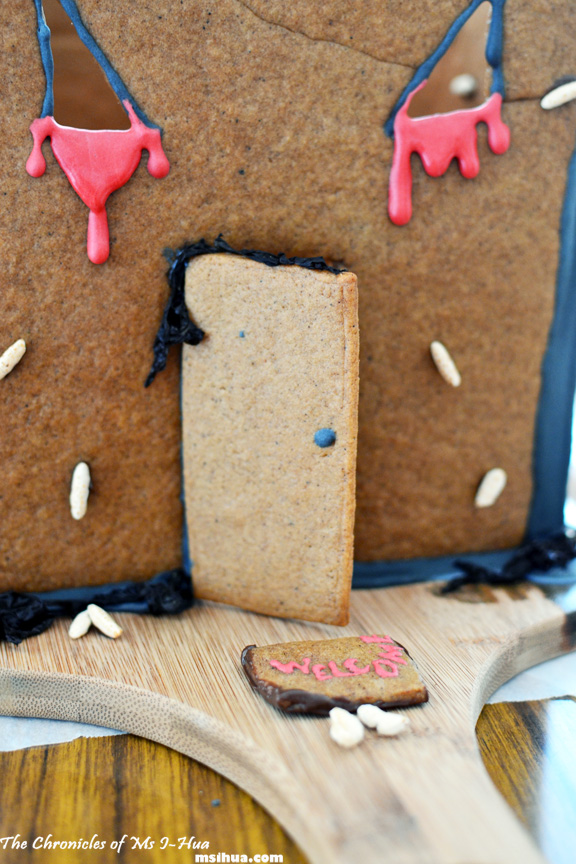
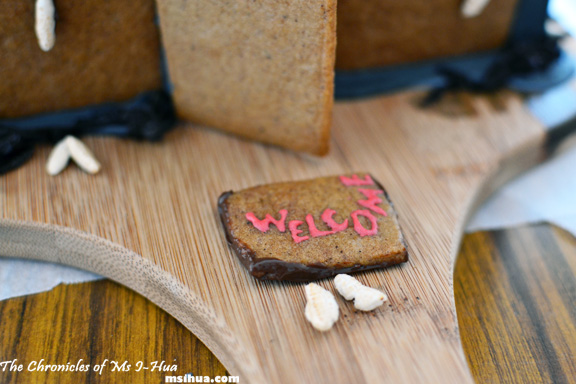
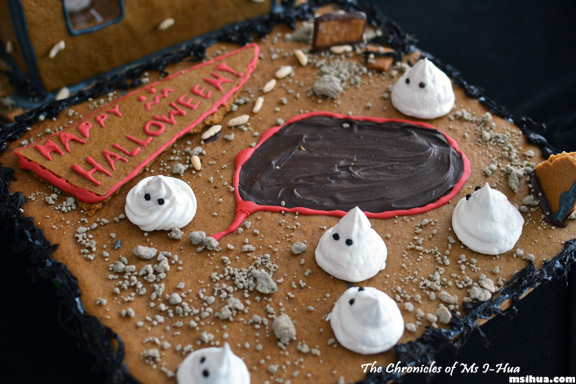
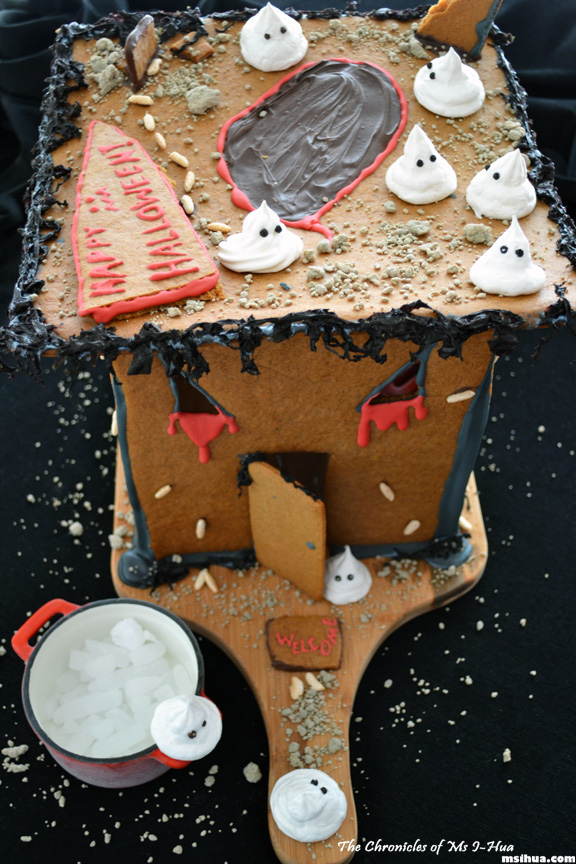
The Black royal icing was used to join the walls and doors and outline the windows. Red royal icing was used to make “blood tears” for the evil eyes and writings on various pieces such as the “Welcome Mat” and “Happy Halloween signage”.
We melted some chocolate so we could make the Black Swamp of Darkness on the roof (a rooftop “swimming pool”, now that’s what I call partayyyy!!!). Left over chocolate was used to stick “maggots” around the walls and surrounding area. The “maggots” are actually puffed rice which we had extra from the Molecular BKT recipe.
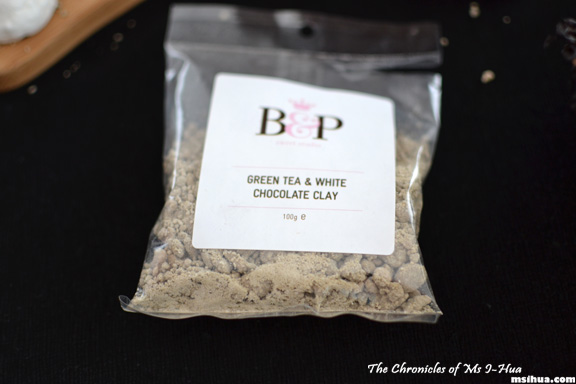
As you can see, we cheated a bit with using store-bought “soil” and used Burch & Purchese‘s Green Tea and White Chocolate Clay for the purpose of “soil”.
It worked perfectly and I was so pleased with the outcome.
The rooftop scene with the Black Swamp of Darkness (a.k.a. Rooftop swimming pool) waiting to swallow up a careless Meringue Ghost and bring him back into the house. Sounds like a video game, doesn’t it?
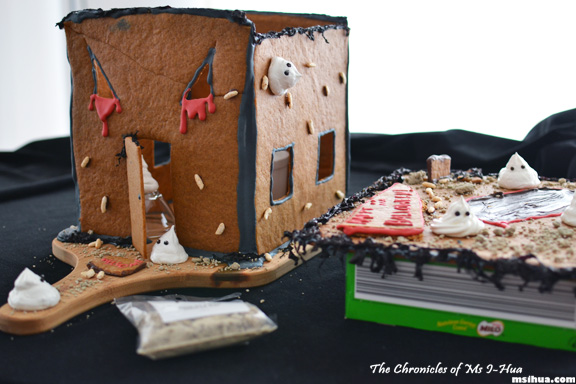
Who knew a cereal box could be that useful? Whilst the building and construction went on for the Spooky Shack, the Milo cereal box helped kept our rooftop sturdy.
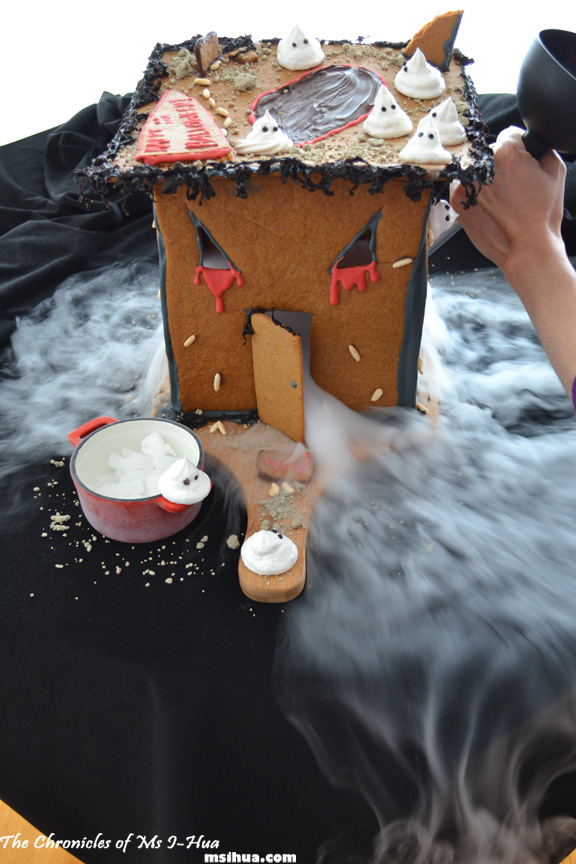
We weren’t quite sure how we would get the dry-ice to work once the rooftop was placed.
Thankfully, I had cut up windows on both of the side walls, and by using a long funnel (and a well placed bowl of dry ice close to the window) we were able to proceed. The funnel will act as the medium when you pour warm water into the bowl.
Voila!
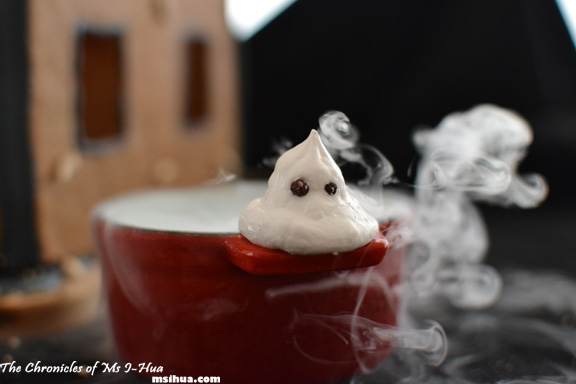
Don’t be fooled by the friendly looking Meringue Ghosts around the Spooky Shack.
Once you enter, you can never go back!
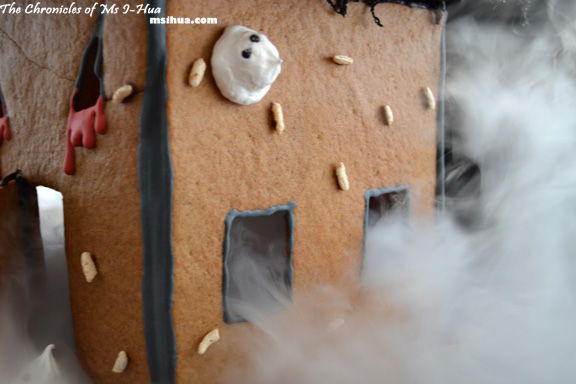
The door beckons naive and careless strangers. Deep in the abyss, past the Spooky Hollow lies the Spooky Shack.
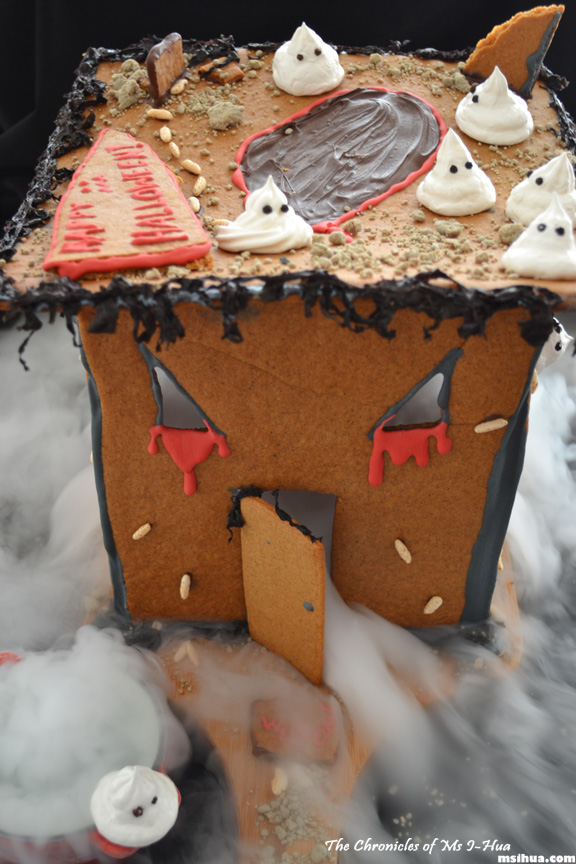
Legend has it that the shack comes alive once a year during Halloween and he is always angry with tears of blood flowing down his eyes.
For once a year, many spectres turn up and throw a boisterous death party!
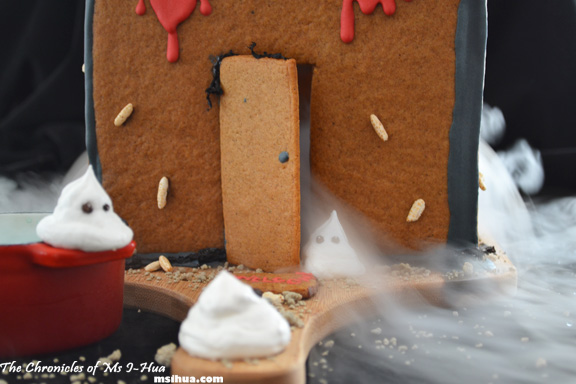
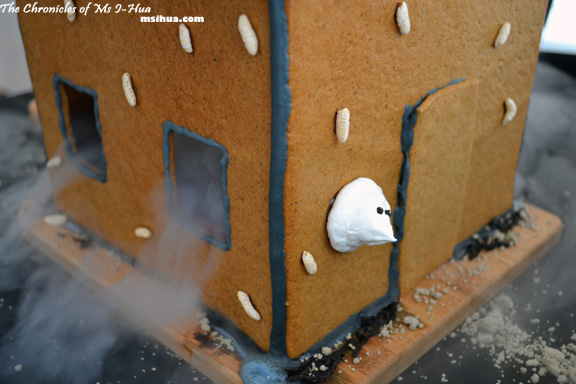
See one of the Wonky Boys’ as he greets his guests by the front door.
Ascending by the walls, watch out!
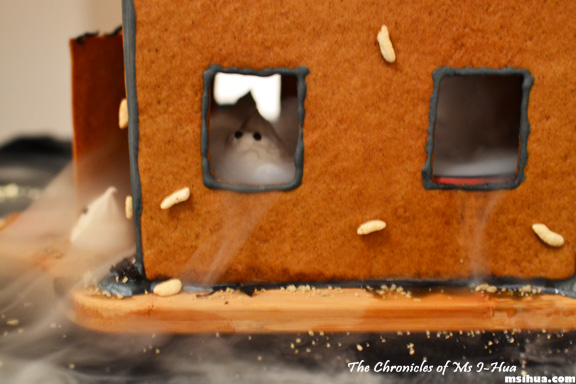
A few gloomy Wonky Boys gaze out the window as they have just toppled through the Black Swamp of Darkness at the party on the rooftop.
Be careful where you tread, maggots lie in your path.
“What you looking at?”
Once the excitement and the fog is swept away, the lights come on!
Don’t burn the house down!
So tell me dear readers, how have you celebrated Hallo’ween this year?



OMG! This is epic! Really amazing job!!!!! Happy Halloween! 😀
Happy Halloween! Thanks again 🙂
woah, that’s totally awesome.
Love the rooftop swimming pool!
So do I… imagine.. swimming on a rooftop! Weeeeeee
I always love looking out for your Halloween creations! Just spectacular!
Thank goodness it’s only once a year 🙂
Haha, that is super duper awesome! <3 it – well done you two 🙂
YAY! Thanks babe!
Amazing effort. I bow to your I-Hua Blumenthal. Love it.
*takes a bow* *takes a bow*
You and the boy are just amazing…!
Aww… *shucks*
AMAZING stuff guys!! I love it all, especially with the eerie smokey effect!
You’ve got to love dry ice!
This is off the shizzle!! Very ghastly indeed. You two are a dynamic duo.
I’d be the first one to eat that delicious oil on the top! *HINT*
Thanks Adrian… go the shizzle!!!
I think Halloween is my favourite time of year on your blog. BEST!
Oh, why thank you missy 🙂
Epic effort, I-Hua! So fun + festive!!
Yayy! It was quite hard work and I’m glad it paid off!
DON’T EVER CHANGE.
OKAY I WON’T!
CAPITALISATION FOREVER.
INDEED!
the maggots look real!!!!!
0_0
I know right? Who knew puffed rice could be so gross looking 😛
That is quite spectacular! Amazing work!
Thanks Ames!
Ahh memories! I did a Halloween gingerbread house last night quite similar. It was epic indeed and a lot of hard work but worked out well in the end! 🙂
Oooh…will you be posting it up soon? No way I could ever try and replicate your amazing Halloween parties and recipes!
Awesome! Now I need to start thinking about Christmas. But so much hardwork???
LOL… I think one major project for me a year is enough!
Babe this is very impressive! Great job!
Thanks very much indeed!
OMG this is pure awesomeness!! I love it 🙂 you’re fab!!!!
Thanks so much!!!
Oh my DAWG, I-Hua!! This is soooo impressive you should throw a Halloween party at your place so ppl can have an excuse to try this lovely. SOOO much effort and creativity involved. A++ hahahhaha
LOL.. why thank you.. I think a party would be too much pressure!
OMG, this is SUPER IMPRESSIVE!!! You are so creative… love, love, LOVE it! 🙂
Thanks April!!