Oh wow, today, this humble blog of ours turns a whopping 8 years old!
If you had told me 8 years ago, that my personal blog would grow to something that both The Boy and I would dedicate so much time, effort and love on, I would have laughed at you. I would have said, “Have you lost your marbles? Who would want to read about our adventures? Who would want to see what we do in the kitchen?”
These last 8 years have seen us both go through many life challenges, but it also has thrown us a few big happy surprises. In the last year alone, we’ve both been blessed to have travelled near and far. We’ve both been able to learn so much more about people through our adventures with food, travel and entertainment that we wouldn’t have otherwise been exposed to, if not for this blog.
So I would like to thank all of you, and share another little adventure in our humble kitchen in honour of this 8th Blog Anniversary 🙂
It all began when I wanted to learn how to make bobbles, ala’ the great Iron Chef Shellie’s bobble cakes! So I asked Shellie to come over for the day for a quick crash course. Being really bad planners, we hadn’t really put much thought about the type or flavour of cake we would be bobbling, nor did I have enough ingredients in the pantry for our bobbling and baking activities.
So whilst the two of us put our heads together, The Boy cooked us an amazing breakfast and lunch. Most of the time, we just heckled him. Such is our love 😛
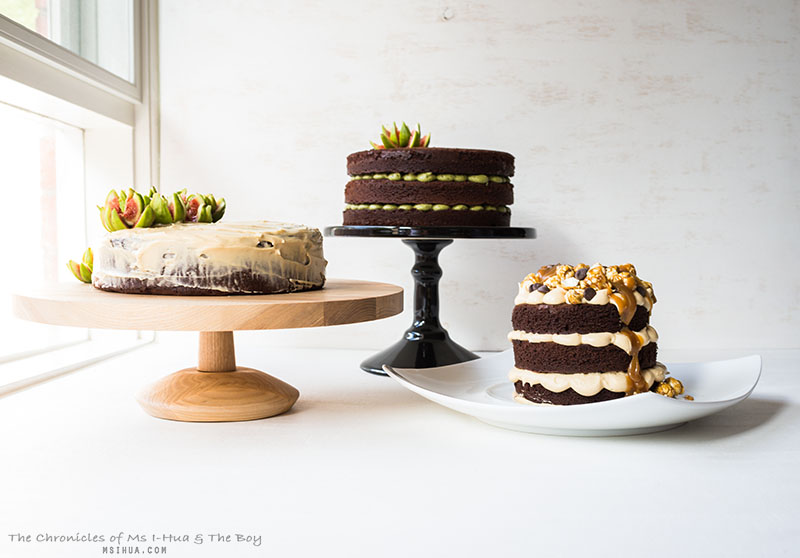
From one layer cake with bobbles, we ended up with 3 cakes with an array of bobbles and figs. We also got sticky as we decided to throw in a whole jar of limited edition Burch and Purchese Salted Caramel with gold flecks. Because, why not?
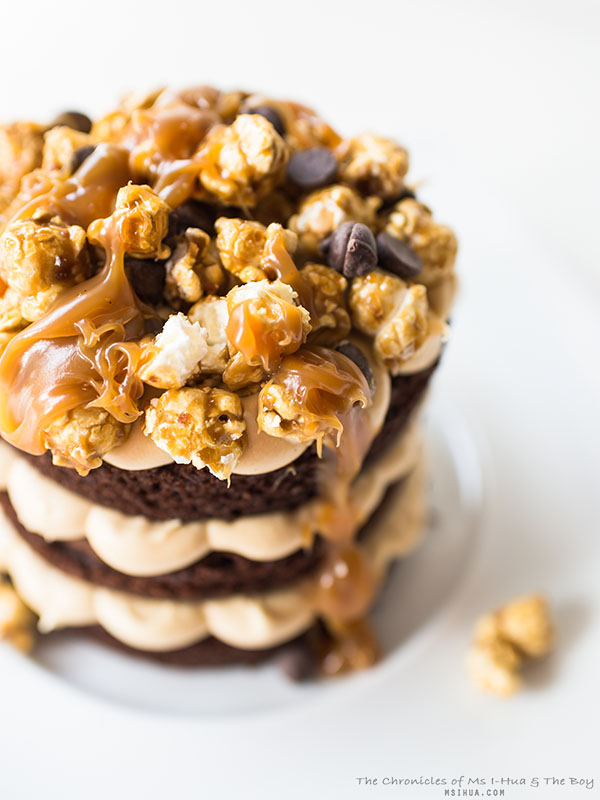
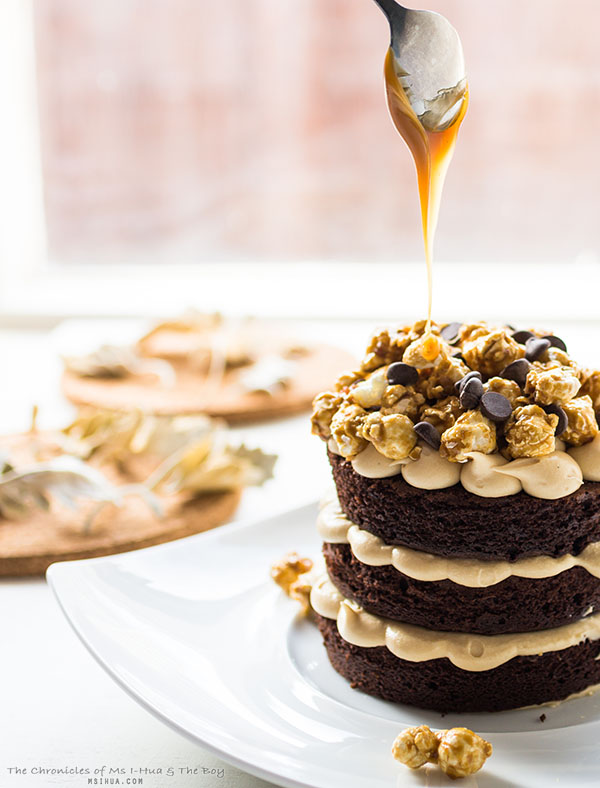
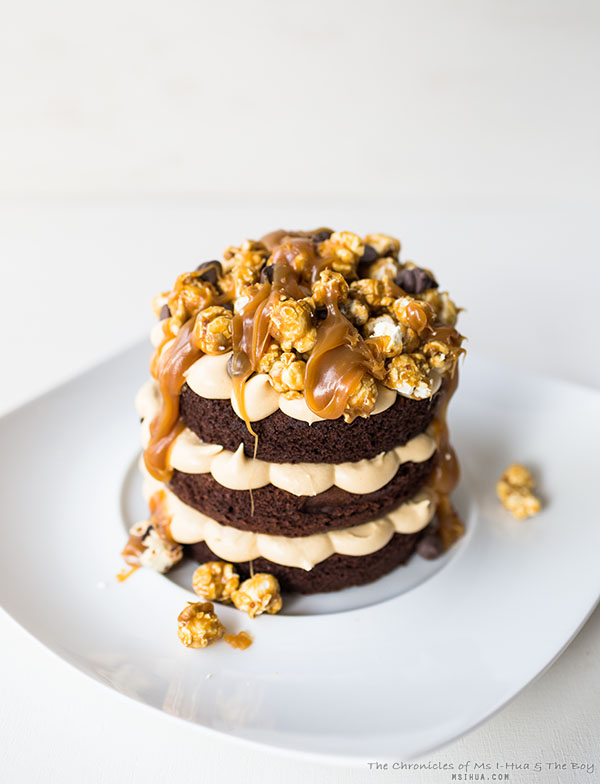
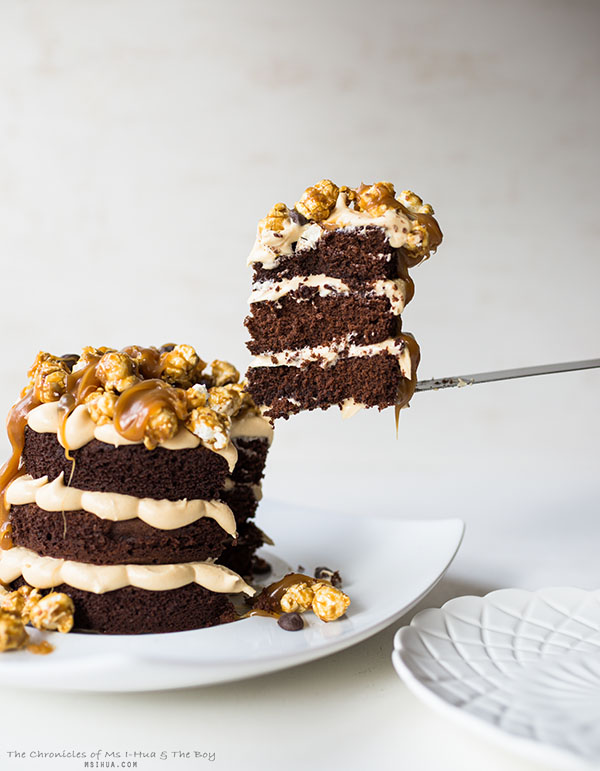
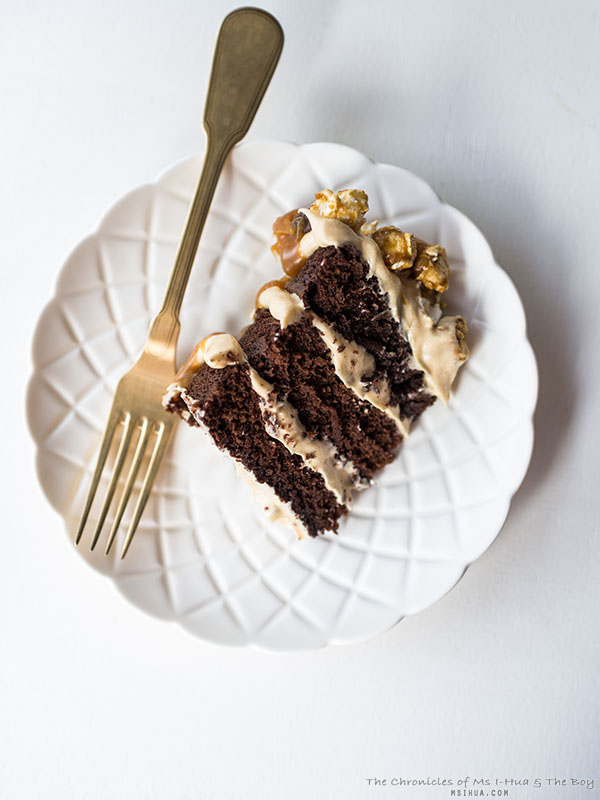
Using a simple double chocolate cake recipe (it really is simple, as I made 3 batches of it for this adventure), we set up a production line of baking, letting the cakes cool, making batches of frosting and bobbling. Out of the three, we chose this cake to be featured as it showcased the party factor, and heck, it looked great in our photos. It also was an ultra delicious cake to eat!
Out of the 3 batches, it churned out 8 layers of chocolate cake for us to play with (4 small layers, 3 medium layers, and one chocolate cake). For the purpose of this cake, I would say one batch would be enough to make this small layer cake, using 4.5-inch (12cm) layer cake or spring form cake pans.
Double Chocolate Cake with Salted Caramel Cream Cheese Frosting
Ingredients
- 300 g Caster Sugar
- 50 g Baking Cocoa Powder
- 175 g Plain Flour
- 3 tsp Baking Powder
- 75 ml Fresh Milk
- 50 g Unsalted Butter
- 50 g Dark Chocolate (at least 70%)
- 50 ml Vegetable Oil
- 4 medium-sized Eggs
- 100 ml Low-Fat Natural Yoghurt
For Salted Caramel Cream Cheese Frosting
- 300 g Icing (Powdered Sugar)
- 175 g Cream Cheese cold
- 50 g Butter softened
- 100 g of Salted Caramel
Garnish
- 4 wooden skewers optional
- Extra Salted Caramel heated in microwave for 15-20 seconds
- Chocolate Chips
- Salted Caramel Popcorn (we got ours from Happy Lab)
Instructions
- Start off by lining the bases of three to four 4.5 inch (12cm) round cake tins with non-stick (baking) paper. Pre-heat the oven to 170 degrees Celsius (or 150ºC fan-forced).
- Melt the butter and dark chocolate in a small saucepan (taking care not to overheat the mixture). Once the butter and chocolate mixture has melted, quickly remove from heat.
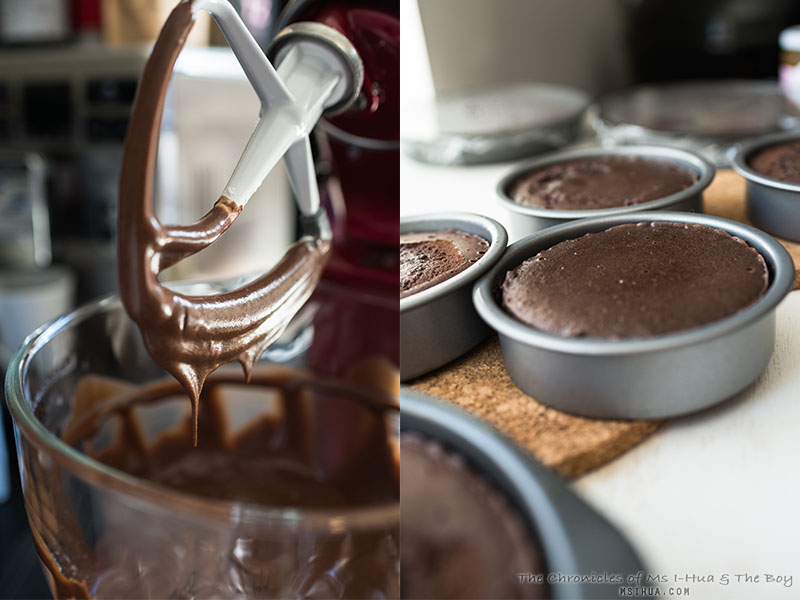
- Place the caster sugar and cocoa powder in a stand mixer and beat in the milk.
- Add the chocolate and butter mixture into the sugar and cocoa mixture along with the vegetable oil until well incorporated.
- Beat in the eggs until smooth, stir in the yoghurt and mix in the flour and baking powder.
- Pour the mixture into the prepared tins, cover with a slightly domed sheet of aluminium foil and bake for around 40 minutes.
- Remove the foil in the last 15 minutes of baking. Once done, skewer the cakes to check if it's cooked.
- Remove the cakes from the oven and set aside to cool in the tins. Cover with cling-film (while still warm) to keep it moist.
- Whilst waiting for the cake to cool, you can start preparing the salted caramel cream cheese frosting.
- In a stand mixer, beat the cream cheese and butter until smooth.
- Add in the icing sugar until well incorporated.
- Add in the salted caramel and keep churning until you get a smooth consistency. Transfer into piping bag.
- When you are ready to start layering the cake, place the first layer of cake on a cake base (or plate).
- Start piping the cream cheese in a circular pattern, outside in. Once done, start with the next layer and keep bobbling until you complete all layers.
- To stabilise your cake, you can stick in 4 wooden skewers to hold it up. This will also prevent it from sliding around if you are transporting the cake. Do this before you finish garnishing the cake.
- Once the top layer of your cake has been sufficiently bobbled, you can then add on some smashed salted caramel popcorn, chocolate chips and more lashings of salted caramel.
_____________________________________________________________________________________________________________
_____________________________________________________________________________________________________________
_____________________________________________________________________________________________________________
_____________________________________________________________________________________________________________
_____________________________________________________________________________________________________________
Out of the 3 cakes, which is your favourite? I gifted the single cake to my favourite crew at Patricia Coffee Brewers, and took in the layered chocolate cake (with green tea frosting and the salted caramel cream cheese frosting into work). The party cake? Shellie took it home as her reward for teaching me how to bobble 🙂 I reckon we make a great team and could join a Couples Bake-Off if there ever was one.
I need to make this salted caramel cream cheese icing – it looks phenomenal! Using Burch and Purchese salted caramel is a such a good idea as well – no stressing out about your caramel burning! I have to say I love the look of the small cake the best, but don’t have a set of cake tins that size – what size tins and what quantities of mixture did you use for the medium cake? Would love to decorate it the same way as the small cake for a birthday!
Happy Anniversary Angle Babe and The Boy!! ❤️❤️❤️
You two would make the most marvellous baking duo. A fabulous (slim) version of the Two fat Ladies perhaps – one of my most favourite cooking shows ever.
That bobbling effect is so beautiful and I love the decadence on top. Very happy 8 year blogiversary- what an achievement!
Happy 8 year Blog-iversary! You must be proud. And this cake is the most decadent, ooe-ey, goo-ey, give-it-to-me-right now cake I have ever laid eyes on. So appropriate for this special occasion.
Congratulations!!! Can’t believe it’s been 8 years that’s such a long time. Keep up the great work guys 🙂 And I’m determined to make this cake!
Happy anniversary, wow!! The term “double chocolate” alone makes us weak in the knees!
Julie & Alesah
Gourmet Getaways xx